Before insulation, wiring, or anything fun, I started with the foundation: cleaning the van thoroughly and protecting it from rust. This step sets the tone for the entire build. If you skip it, you're building on borrowed time.
What I Did
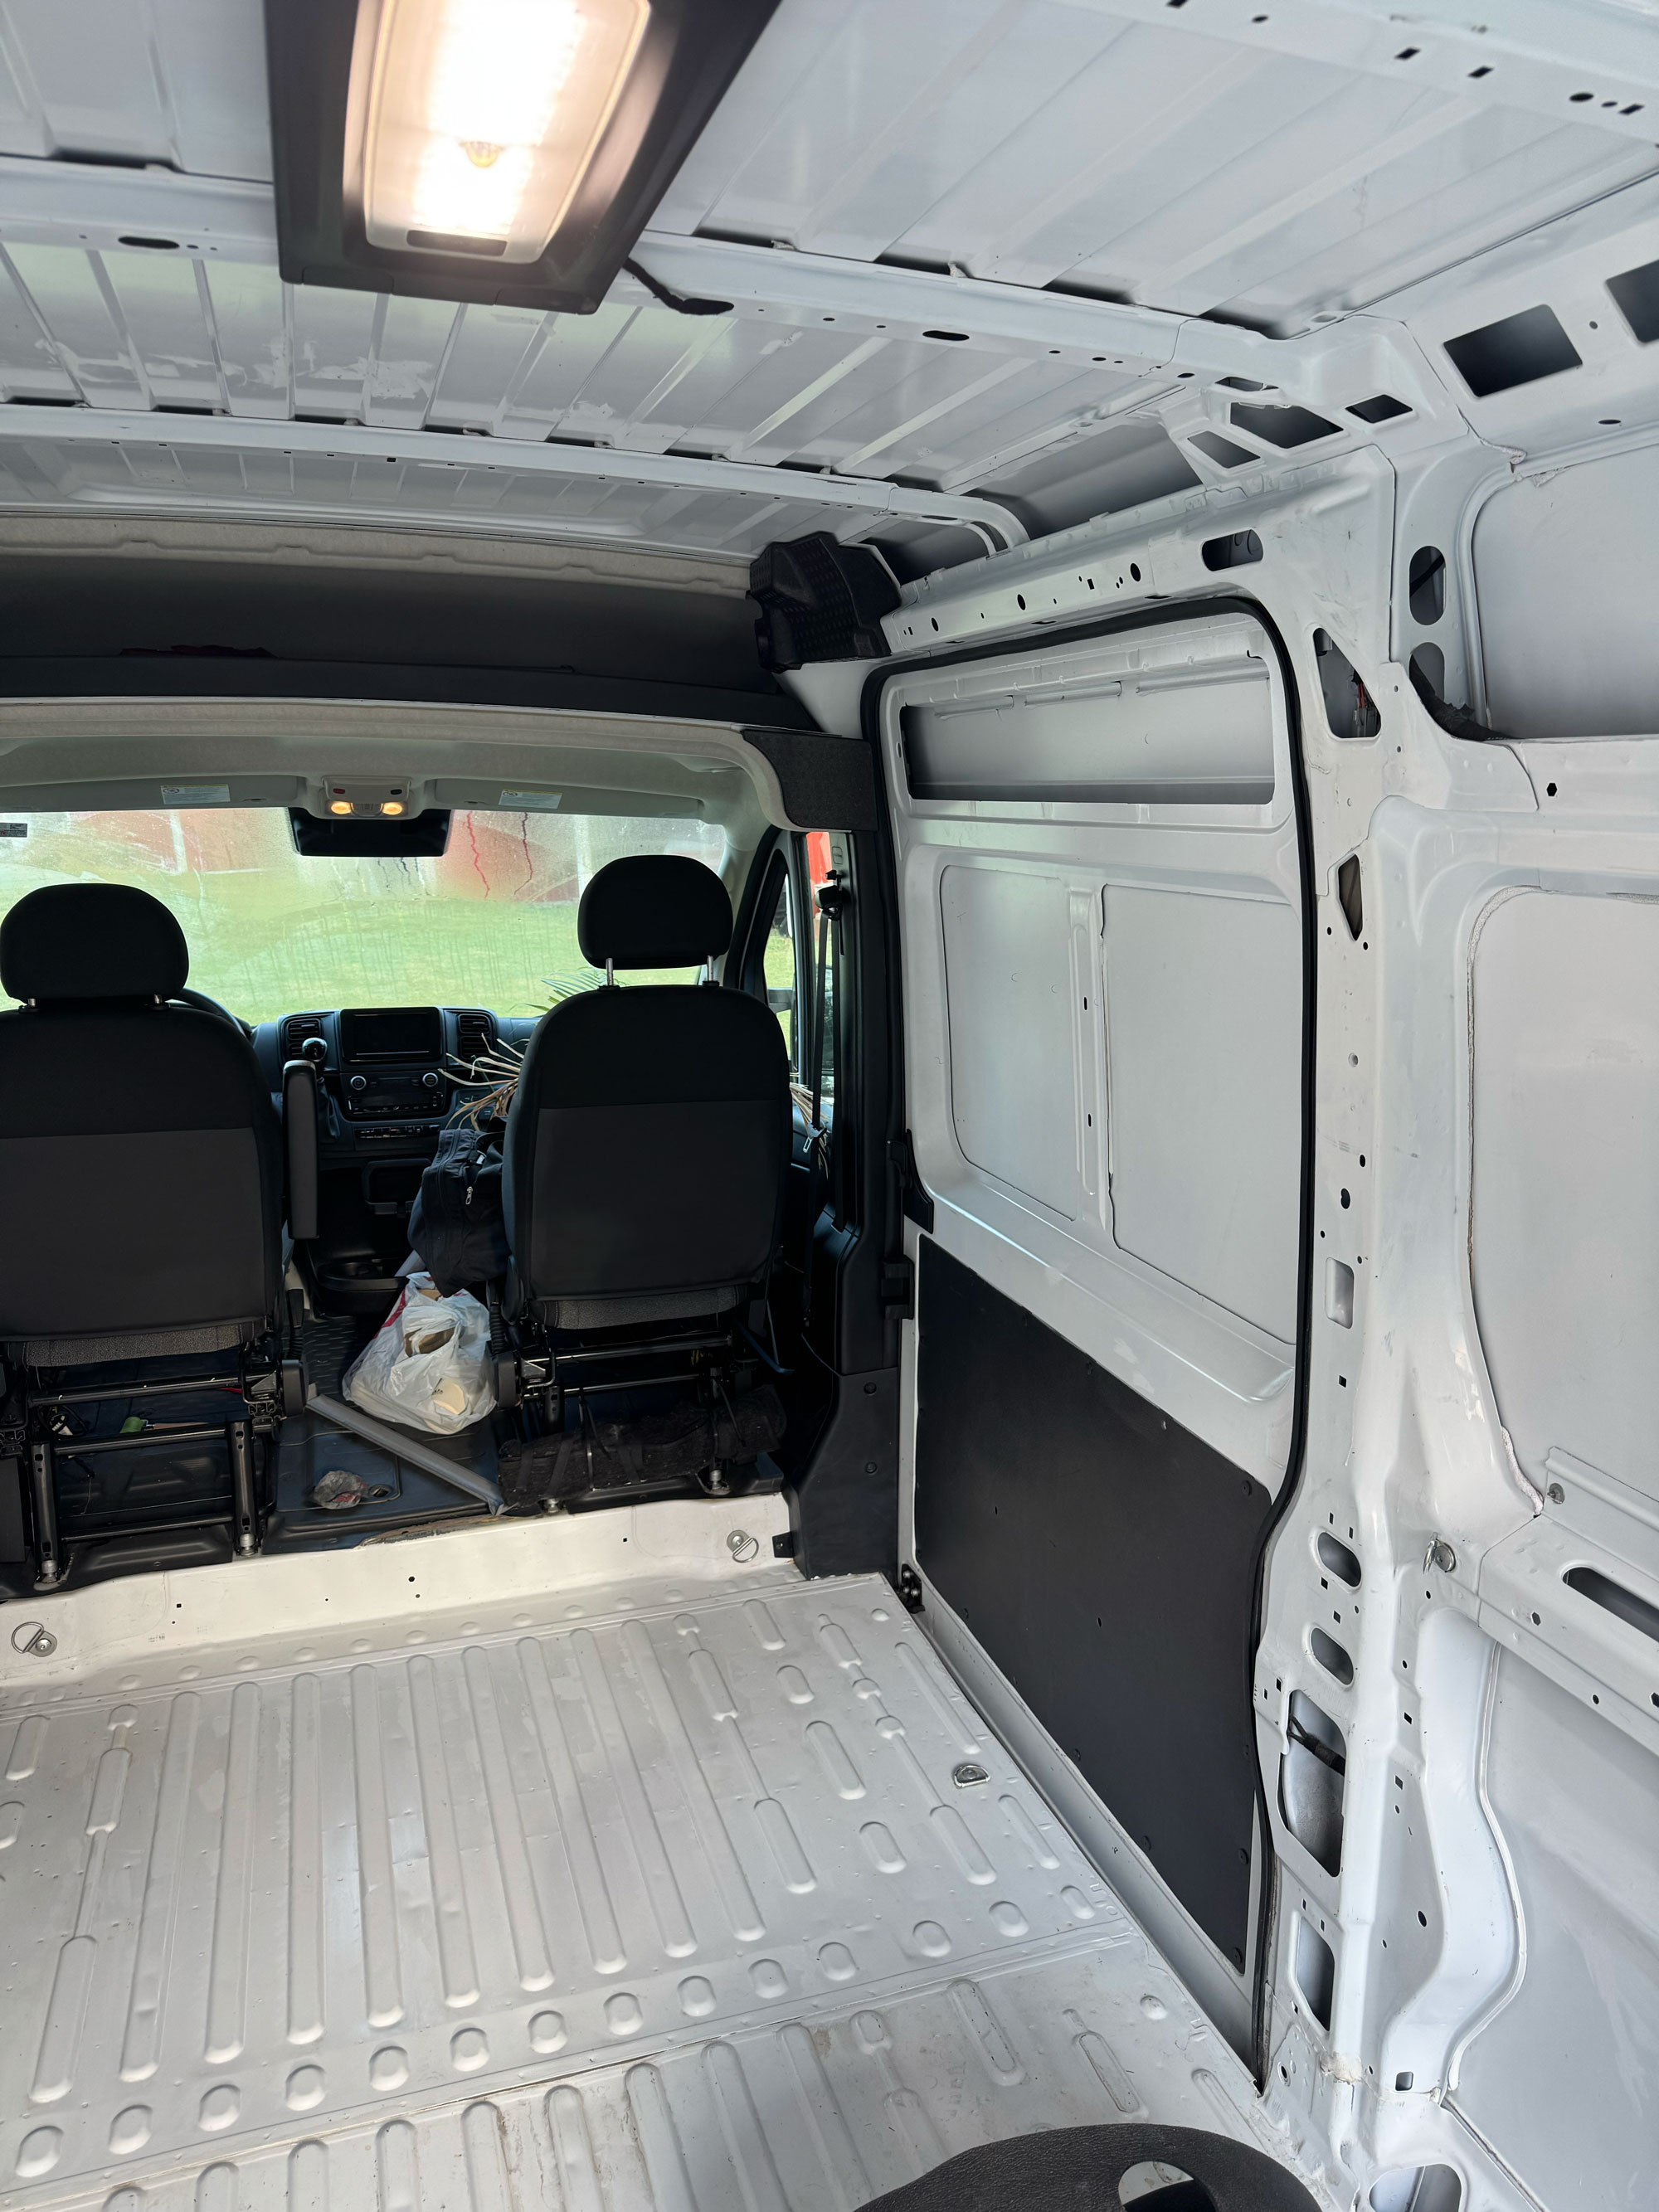
First, I stripped the van down to bare bones. Removed the factory flooring piece, swept everything out, and looked closely for scratched or exposed metal.
Anywhere I found bare metal, I sanded it down using 220 grit sandpaper. This helps the primer actually stick instead of peeling later. After sanding, I went back over those spots with Rust-Oleum primer and protective enamel to seal the metal.
Once the problem areas were handled, I cleaned the entire floor. I scrubbed everything with rubbing alcohol using microfiber towels and, honestly, a few old socks. This removes oils, dust, and residue that can keep primer from bonding properly.
After the floor was fully clean and dry, I added a layer of primer across the floor to create a clean, protected base.
Why This Step Matters
Rust prevention isn't exciting, but it's critical. Vans trap moisture, especially once insulated. Taking the time to sand, clean, and prime now prevents major issues later when everything is built in.
Products I Used
220 Grit Sandpaper
Car Vacuum
Rubbing Alcohol
Microfiber Cleaning Towels
Sponge Brush
Note: These are affiliate links. I may earn a small commission at no extra cost to you.
Video
You can see a short walkthrough here:
Watch on YouTube